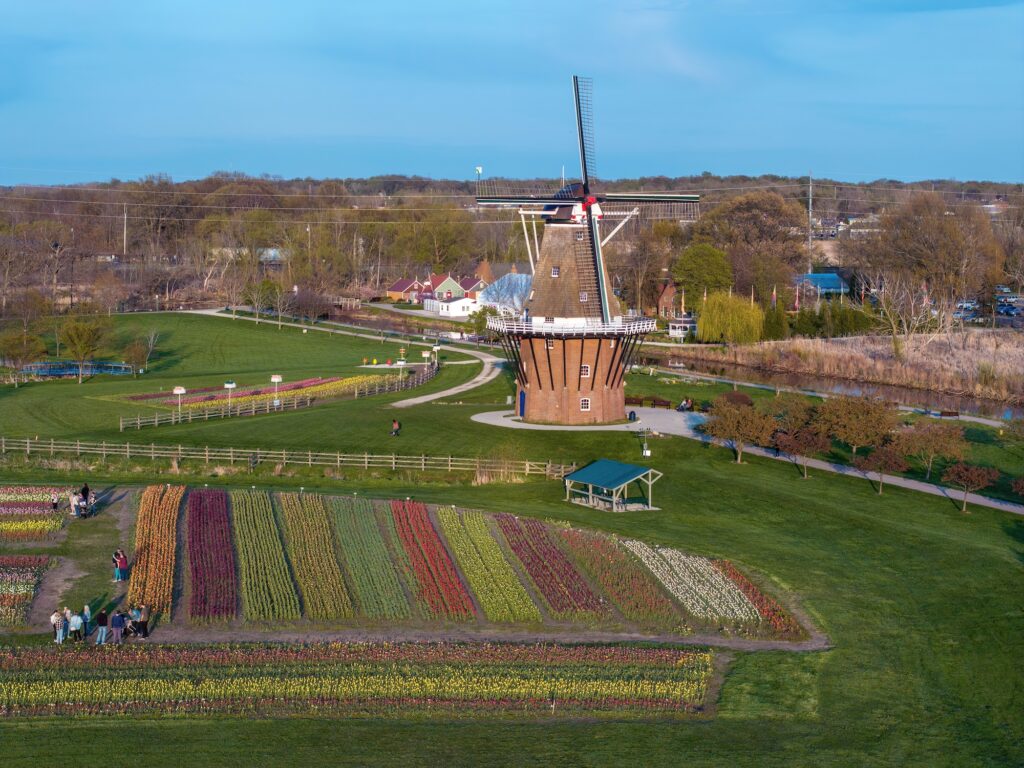
The advent of affordable, easy-to-use drones has opened up new ways to see and photograph the world. Small unmanned aircraft equipped with cameras allow photographers and videographers to capture perspectives, angles, and patterns that aren’t visible from the ground. From sweeping landscapes to architectural geometry and changing light across water or fields, drones allow professionals and hobbyists alike to explore compositions in ways that once required helicopters or small airplanes.
If you’re new to the drone world, welcome to the community. Before you take your first flight, there are a few simple steps every aspiring pilot should take to operate safely and legally. The best news? Implementing these steps is either free or relatively inexpensive. Let’s get started.
Step 1: Register your drone
The first thing you’ll want to do, if your drone weighs more than 250 grams (0.55 pounds), is register it with the Federal Aviation Administration (FAA). Consumer drones weighing under 250 grams include most models in DJI’s Mini series, DJI’s Flip, and the Potensic Atom. The rest, including the Air series and the Mavic family (including the Mavic 4 Pro), will need to be registered. When in doubt, check the owner’s manual for your drone’s approximate weight.
Don’t get fooled or ripped off by online ads; it only costs $5 to register your drone for 3 years on the FAA’s official site. You’ll need your drone’s serial number. It can typically be found on a tiny sticker attached to the drone’s battery compartment, but the easiest way to find it is through your DJI app.
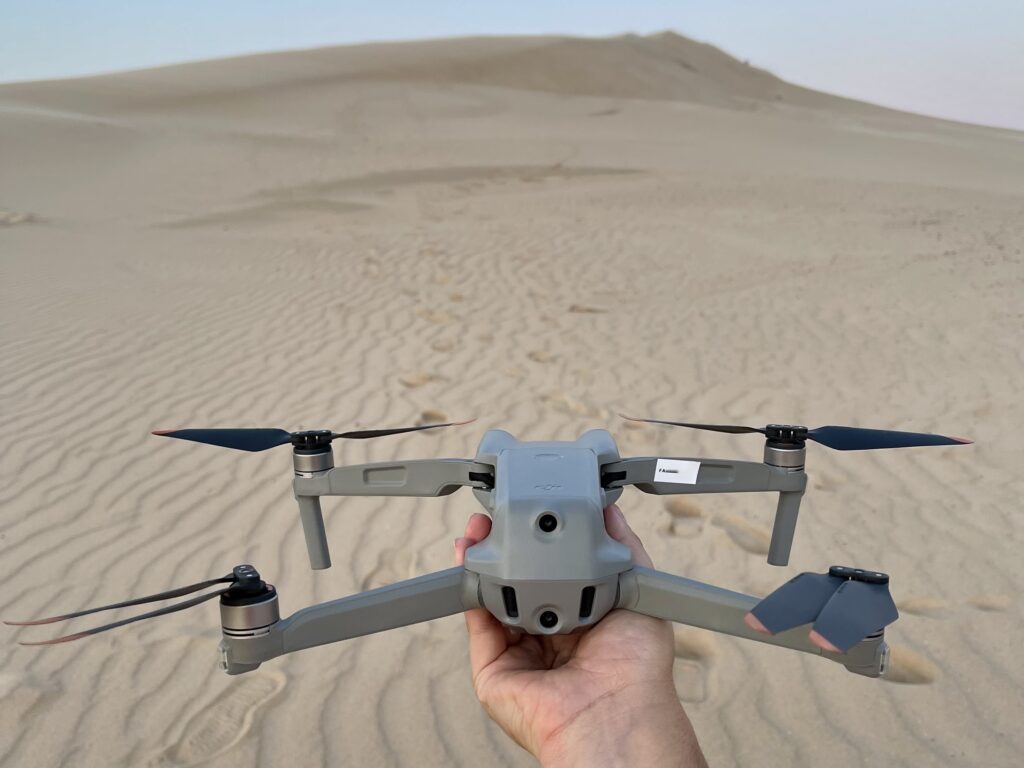
Once the drone and controller are connected, activate the app’s camera view, and click on the three dots (…) in the upper-right-hand corner to open up the settings. Click About to see the Serial Number. You can also find the Serial Number on the outside of the box the drone was packaged in, on the barcode sticker.
When you have the Serial Number, you’ll head to FAADroneZone and create an account if you don’t already have one. Once you’re logged in, you’ll launch the Drone Owners and Pilots dashboard. Unlike commercial pilots, who must register each aircraft separately, recreational pilots only need a single registration. This will cover all of your drones weighing more than 250 grams. Pro tip: I like to set an Apple or Google Calendar reminder to avoid missing the registration renewal date.
You will need to provide your name, physical address, and an email address. You’ll also need to agree to a few more basic rules that’ll be covered later in this article, including passing the TRUST exam, keeping your drone within visual line of sight, and flying at or below 400 feet above ground level (AGL).
After you’ve completed all the required steps, the FAA will issue a registration number. This number must be clearly displayed on the exterior of any drone you operate weighing more than 250 grams. You can use a permanent marker or a small label printed off a label maker. Pilot Institute, which provides excellent drone and aviation training, will also print your stickers free of charge with no strings attached. You’ll also want to keep proof of registration with you. While some pilots print out the certificate, most prefer to keep a digital copy on their phone.
Step 2: Pass the TRUST Exam
When you hear the word ‘exam,’ you might think ‘what a hassle!’ However, the TRUST (The Recreational UAS Safety Test) exam is free, self-paced, and takes roughly 20-30 minutes to complete. Administered by the FAA, the purpose of TRUST is to make sure you understand basic airspace rules along with safe and responsible flying practices.
Here is a list of the FAA-approved TRUST administrators. All of these organizations offer the exact same exam and credentials, so feel free to choose whichever one you want.
- Academy of Model Aeronautics (AMA)
- Boy Scouts of America
- Chippewa Valley Technical College
- Community College of Allegheny County – West Hills Center
- CrossFlight Sky Solutions
- Drone Trust
- Embry-Riddle Aeronautical University (ERAU)
- HSU Foundation
- Lake Area Technical College
- New College Institute (NCI) (New testing system coming)
- Pasco-Hernando State College
- Pilot Institute
- Proctorio Incorporated
- Robotics Education & Competition Foundation
- Tactical Aviation
- UAV Coach
- University of Arizona Global Campus
Once you’re finished with the test, download the certificate of completion and keep it with you whenever you fly. Like your registration, you can also keep a digital file on hand for easy access.
Step 3: Know Where You Can Fly
Now that you are ready to fly safely and legally, there is one more crucial step you must take before launching. Ahead of every single flight, you need to check in with an airspace app such as Aloft’s Air Control or the FAA’s B4UFly offering. Both apps are free to download on the App Store for iOS and Android.
Air Control by Aloft is my go-to app, so I will use it to walk you through registering, checking airspace, and requesting authorization if necessary. After downloading the app, create an account. When prompted, select Recreational Flyer to configure the interface for hobbyist rules. Once you’re logged in, you can view the airspace around your current location or search for another area where you plan to fly.
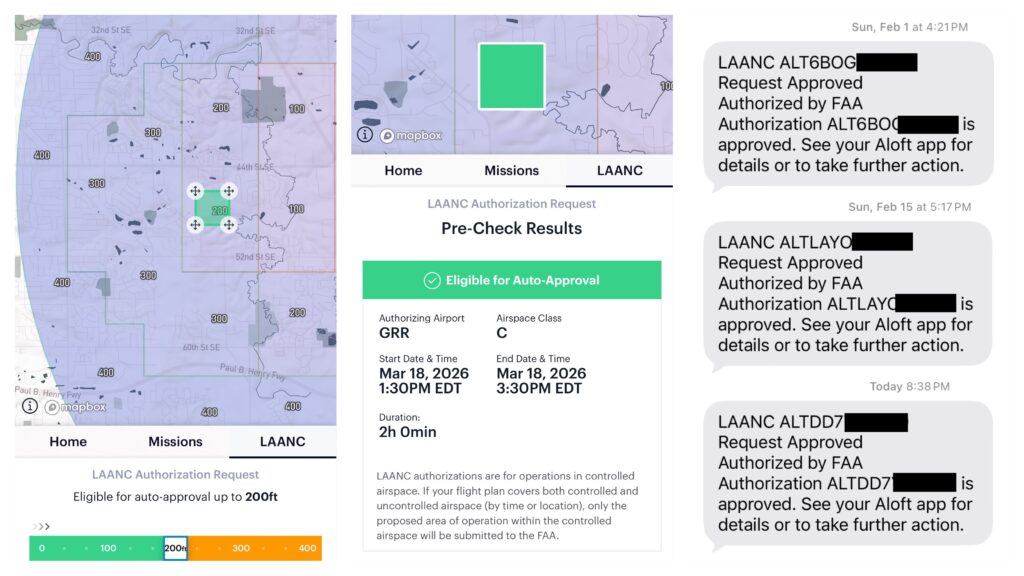
Caption: Once your account is set up, getting approval to fly in controlled airspace is easy. Select your location, input the date, time, and time period. In most cases, you should get near-instant approval.
Many new pilots who aren’t Part 107-certificated are not aware that operating in controlled airspace is often possible. Through a system called Low Altitude Authorization and Notification Capability (LAANC), you can request approval to fly near airports and receive a response within seconds. LAANC was introduced by the FAA in 2017 to modernize the authorization process. Before its launch, pilots had to contact Air Traffic Control directly and wait for manual approval, a process that was slow and impractical for both the requester and approver.
Now that LAANC is integrated into many airspace apps, including Air Control, it’s easy to get approval. If the location you select falls within controlled airspace, simply open the LAANC authorization tool, enter the date and time of your planned flight, and submit your request. In most cases, you’ll receive an approval or denial within seconds via text and email.
When flying in controlled airspace, it is critical to pay attention to the altitude limits shown in the grid overlay. These numbers represent the maximum height you are allowed to fly in that specific area. For example, a grid marked 400, 300, or 200 indicates the highest altitude in feet AGL that you may fly after receiving authorization. Once your request is approved, it is a good practice to open your drone’s safety settings and set the maximum altitude to match the authorized limit so you do not accidentally breach it.
Always check your airspace app before flying. Temporary Flight Restrictions (TFRs) can be issued in advance, such as when a president or other high-profile official is visiting the area. Unexpected events, such as natural disasters, often warrant a last-minute TFR so emergency crews can respond. Even if you’ve flown a location before, it may suddenly fall within a restricted zone.
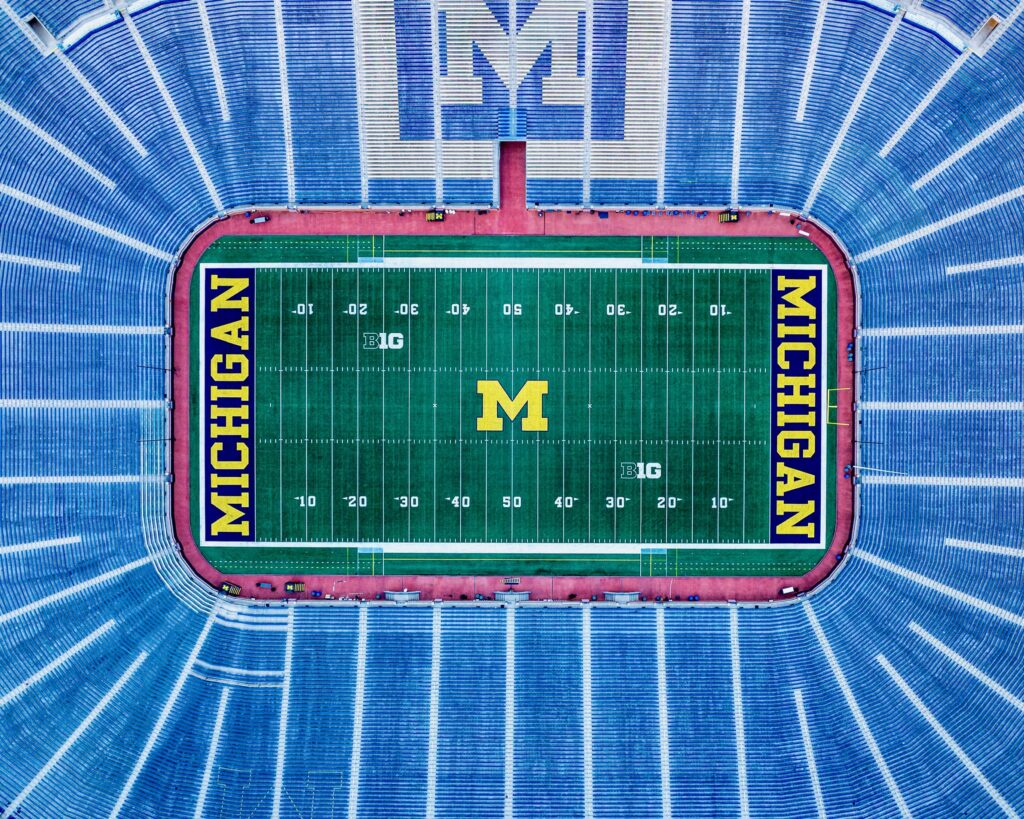
Sporting events are another common source of TFRs. Large cities and mid-size cities, along with college towns, often impose restrictions when professional or major collegiate games are underway. For example, I used to enjoy flying in San Francisco’s SoMa district when I lived there. However, when the SF Giants competed at their home stadium, a TFR blanketed a three-nautical-mile radius around the ballpark.
The TFR time period for this type of sporting event begins one hour before the game and remains in effect for about an hour after the last pitch. This type of restriction exists to protect the large crowds that come and go from these events. Many police departments are equipped with counter-drone technology. It allows officers to pinpoint your exact location using the signal broadcast by your drone’s remote.
This is why it is very important to check your airspace app before every flight. Accidentally operating during an active TFR can result in serious consequences. Fines ranging from $25,000 to $100,000, along with legal penalties, including potential prison time, are not uncommon consequences.
Outside the United States?
If you’re flying in Europe, the United Kingdom, or Australia, similar rules apply. Most recreational pilots are required to register as an operator and complete a basic safety course before flying.
In the EU, under the European Union Aviation Safety Agency (EASA), this typically means registering and completing the A1/A3 training. In the UK, through the Civil Aviation Authority (CAA), you’ll need an Operator ID and Flyer ID. In Australia, under the Civil Aviation Safety Authority (CASA), recreational pilots must follow standard operating rules and may need accreditation depending on the drone and use.
You might expect airspace apps to be consistent across EU countries, for example, similar to Air Control in the United States. However, it is still fragmented. If you’re traveling, your best bet, beyond conducting your own research, is to ask a local drone community which apps and services they rely on for accurate information. Having a trusted friend who is dialed in to the nuances of their respective country is even better.
Wrapping it Up
Now that you’re fully prepared to fly, start out slowly. I recommend to my clients that they practice launching, maneuvering, and landing their drones in a wide-open space free of obstacles. Always calibrate your drone’s compass when prompted, following the instructions in your drone’s app. This prevents flyaways and allows you to get the drone back with a simple press of the Return-to-Home button if you feel overwhelmed.
Finally, since the TRUST exam taught you that hobbyists can only fly 400 feet AGL, you should go to the Safety section of your app and set the height limit. It’s easy to get caught up in the moment during a flight and lose track of your altitude. This keeps you safe and compliant. Make sure you keep your drone within your line of sight at all times. Just because it can fly miles away doesn’t mean you should. The tech is there to prevent a lost signal.
Hopefully, this information helps. When you’re ready to explore operating a drone professionally, check out the next article, “How to Make Money with Your Drone.(put in link to that next article)”